Saturday, January 23, 2016

A Very Merry Oregon Crochetmas!

Hey guys!

So I've already showed you all everything that I whipped up for my relatives and loved ones in Michigan, but I haven't mentioned what I made for my family in Oregon because obviously Patrick and I were out of town and did not get home until after Christmas, which meant that we had to wait to open presents. I also wanted to wait to post this because Patrick's daughter was coming to town to visit with us and I made something for her, as well, so I wanted to wait until she got to see her gift before I posted anything.

TARDIS Scarf

 
So this TARDIS scarf is what I made for Patrick for Christmas! For those of you who don't know, it is a Doctor Who themed scarf, a show which Patrick loves. The scarf measures somewhere around 6 feet long and the TARDIS pieces are actually separately sewn to the scarf so they serve as pockets! And true to Patrick's love of fringe, there is lots of fringe sewn in at the bottom. I didn't use a pattern for this-- it is one of my own making. 


The wooden spoon is to show how deep the pockets go. I actually didn't have the spoon all the way in the pocket, but you get the idea. This scarf was another mixed media project, which I sewed together with a sewing machine. I felt that it was more appropriate than trying to stitch together the edges with yarn, which would just make it bulky and cause the edges of the pockets to be misshapen. Given the opportunity to change anything, I would add a grey block underneath the left window (because apparently there is some kind of sign on the TARDIS), and I might try to embroider "Police Box" onto the black bit at the top. I didn't try that this time because I was pressed for time and I hate embroidering on crochet, but I could always add it later. I also think an iron-on patch would be neat there but I would have to find one in the correct size... and the iron might melt the yarn since it is acrylic. Another option would be to embroider a piece of felt and glue that to the scarf, which I did consider but again, I was pressed for time (I actually finished this the night before I left for the airport for Michigan). 


Jack Skellington Coin Purse 2.0
After my sister-in-law saw a photo of the original coin purse that I made for Michigan Crochetmas, she commissioned me to make another for her daughter! The money is just to show that the purse unzips.

For this coin purse I used the same pattern as last time but I did a different face and instead of stitching up the edges with yarn, I used my sewing machine.


POT Holders
I had an idea one night and by the next afternoon I had these ready to pack up and give away-- POT Holders (excuse me while I die of laughter at my wit)! Apparently I am not the only person in the world who has thought of this because it was not too difficult to find a pattern for the leaves (though I wrote it down and forgot where I got it from). These are a set of pot holders for a friend of ours. I'm not sorry if these offend some people-- they're a pun in and of themselves and they're hilarious (and useful!).
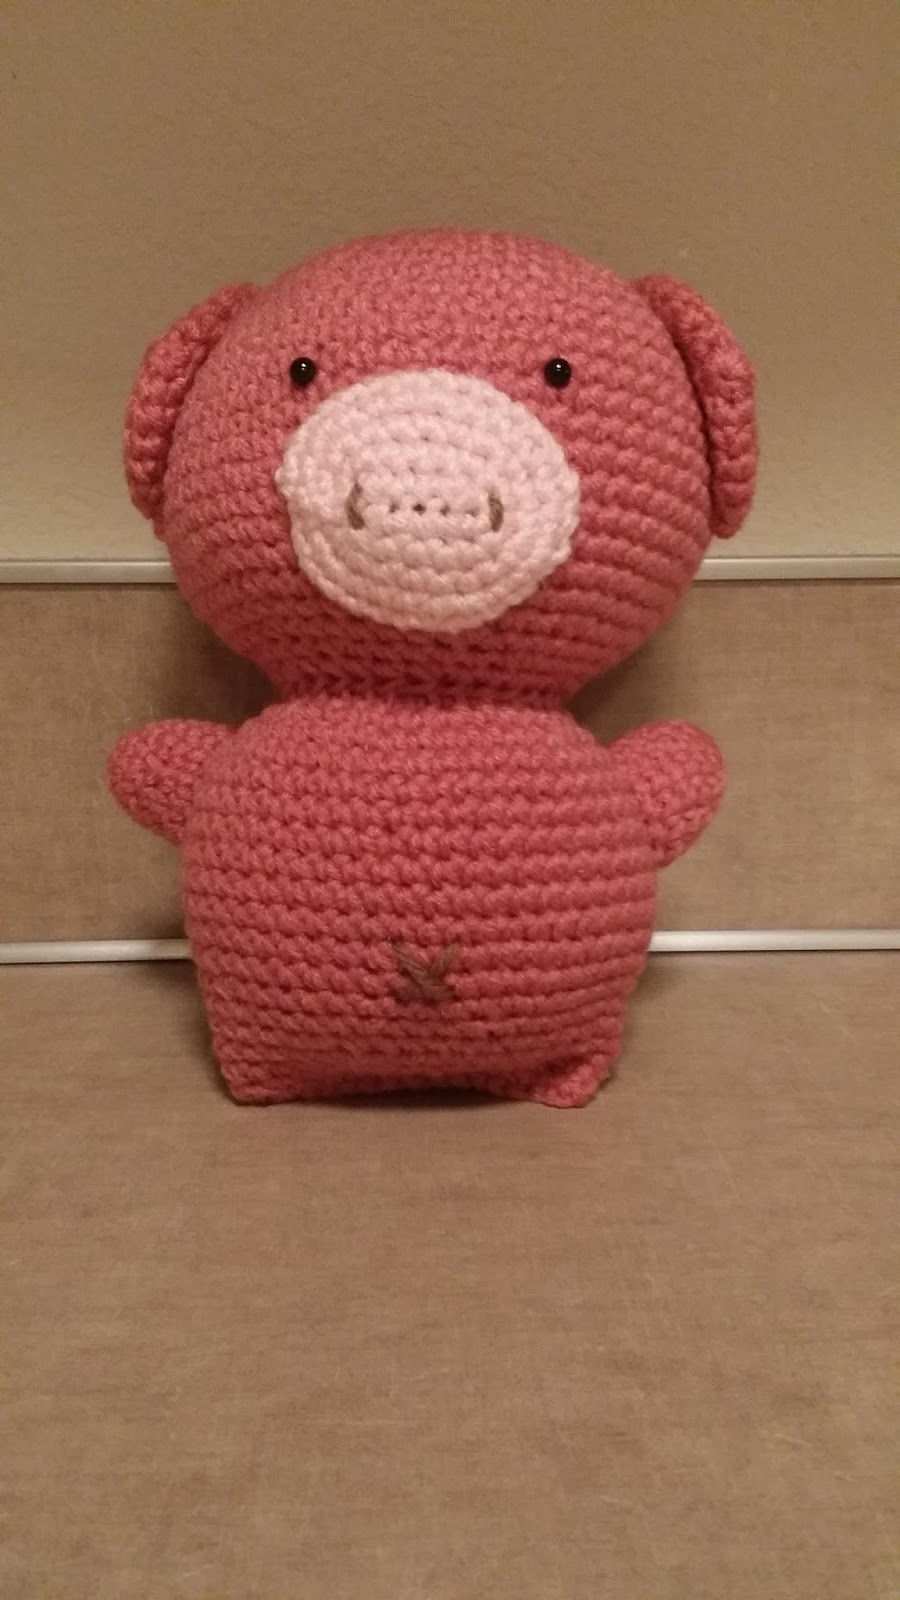

Totoro
In my Michigan Crochetmas post, I noted that one of the largest items that I made was a piggy (and I didn't mean to make it so large)... This Totoro takes the cake by far, and the photos don't even do justice to his true size! I didn't exactly mean to make something so large (in theory a 9 inch stuffed animal doesn't sound so big) but holy crap, this thing took SO MANY DAYS. If I totaled up the number of hours that I worked on this guy and only gave myself $7 per hour plus the cost of materials, he would cost well over $100 to sell. I had to take time off from making it because my hands started cramping up! In the end he ended up measuring 10 inches in body height, 12.5 inches in total height (with the ears) and he measures 20.5 inches around at his widest point. I will definitely start considering size from now on when I find patterns that I want to follow! 


Cat Ear Hat
I also decided that it's about damn time that I made myself something, because up until this point I have only ever made myself two scarves (which I ended up taking apart to use the yarn for other projects) and a pair of slippers (one of which fell apart because I didn't secure it well), so I decided to make this cat ear hat! My photo does not do it justice so I encourage you to click the pattern link to see what the hat looks like in good lighting (and without Snapchat captions). I'm really pleased with how it turned out! 

 I hope you all are having a wonderful New Year so far! 

Saturday, January 16, 2016

DIY Crochet Fish Wall Plaque!

Hey guys!

So I decided to make all of my core family members amigurumi for Christmas, which you can see in THIS post.

But what do you crochet for a male? I had already crocheted a "Stanley the Octopus" for my Red Wing loving grandfather, but I still needed ideas for my other grandfather and my dad. The women in my family were really easy to choose for but I simply could not think of what to make for the guys... Until my husband chimed in.

"What about a fish?"

YES, THAT'S IT! So I crocheted two fish (which I made using this pattern)... And then I just had two amigurumi fish.


What would they do with the fish? Pick it up and put it down again? That seemed stupid but then I remembered what men often do with fish (besides eat them)...

They put them on a plaque and brag about their fish story!

After I finished one fish I was on the hunt for some plaques. I went straight to the thrift store, of course!

The thrift Gods were looking down upon me when I went into the thrift store that day and I found not one but two perfectly sized, perfectly shaped, very inexpensive wall hangings that looked fantastic as plaques! However, they obviously needed a little bit sprucing up.


I failed to take a picture of both of the "before" plaques together, whoops! They're basically identical.


I set out to Home Depot for some hooks and paint. I knew what I had in mind but I had no idea if they even made what I was looking for in terms of hardware. Thankfully they did and so I hopped on home to start on the plaques.


L shaped screw bars. These came in packs of three, because packs of two or four would be just too convenient, so I had to purchase two packs of them.

I wanted something "semi-gloss" ish. Not matte but not glossy, non textured, and brown. This was perfect!


I started out by cleaning the plaques using rubbing alcohol, cotton swabs, and cotton pads. This step was important because I didn't want any gross dust or grit on them when I painted them because I'd have ended up with gritty paint that wouldn't stick.

My plaques had a couple of small dents and chips in them, so I used some wall putty and a wooden popsicle stick (I happened to have some on hand because I normally use them for waxing) and I let that dry for a few minutes. They were small dents so they didn't take long at all.


My filled dents. We had the putty on hand, but then again if your plaques don't have dents then you won't need putty at all!


I then flipped them over and removed the metal hangers from the back and replaced them in a different spot so that the plaques became horizontal hangings instead of vertical hangings.


Again, I apparently do not have the foresight to take photos, so here you can see the holes where the metal hanger used to be.

And here you can see where I moved the metal hanging bits to.


Then I plopped the fish (I had already finished one of them) on the front of the wood and marked where I wanted the hooks to go. I wanted to put the hooks in before I painted the wood just in case the paint/lacquer/wood chipped or split. This way, I was saving myself a step later so I wouldn't have to deal with the chipping or splitting after I had already painted them, meaning I would have had to paint them a second time. Your plaques will most likely be very different from what I got since mine were from the thrift store, so I won't get too detailed about where I put the hooks in.

Once I marked where I wanted the hooks to go on one of the plaques, I then measured where the holes were and made identical marks on the other plaque. One of the plaques was made of softer wood than the other so I was able to screw the hooks in by hand but the other was a little bit more dense and required the work of my husband and a drill to screw them in.

Because the plaques I purchased already had a really neat backs (someone had pasted some really beautiful scrapbook paper on the back before they lacquered the wood), I wanted to make sure I didn't get any spray paint on the back. A little bit of painter's tape around the edges did the trick (I just wanted to prevent any bleeding).


I did obviously put the tape around all four edges, but you get the gist.


Lastly, I cut bits of the plastic bag that my Home Depot purchases came in and wrapped them around the hooks and then taped them very close to the surface of the plaque so that I didn't get any paint on the hooks.


It was finally time to spray paint! Two to three coats of Rust-Oleum and they were ready to go (I know I did at least two but I may have done a third)! I let them dry overnight in the garage but that probably isn't totally necessary-- I just didn't want to bring them inside until the next day because it was raining that night.


Alternatives of "hanging" the fish if you do not want any hooks showing include the following:
  • Simply gluing the fish to the plaque
  • Having the foresight to glue heavy-duty magnets on the inside of your fish and then onto your plaque
  • Velcro
I wasn't interested in any of these options because I didn't think of the magnet thing until after I had thought of the plaque thing and the fish had already been crocheted and the others involved permanently sticking something to the outside of the fish, which was something I didn't want to do. I wanted the fish to be removable so that people could take it down and look at it if they wanted to, which ended up being a great idea on my part.

Also, an alternative option to painting would be sanding (my plaques had been hand painted on the front) and then re-lacquering, however I'm really weird about sandpaper and I felt that this would turn out much more effectively than if I had tried to sand off the art and restore the wood to its original condition.


Finished plaque. If you see any slight bubbling (you can see some strange grittiness near one of the hooks), it's from the design underneath the paint. I could have sanded this off but sandpaper freaks me out and you can really only see it in very bright light, plus the fish cover it up.


Ta-da! I've done a lot of crafty things in my life there are very few that I am more proud about than these! They were so simple, easy, and they turned out looking so incredible. The total project, since I had the yarn, the safety eyes, and the stuffing (for the fish) and also the painter's tape and putty for the plaques, came out to around $13-15 dollars (though this obviously does not include the time that I spend on them, since if I were to sell something like this I would obviously have paid myself for my time).


One of the fish turned out slightly larger than the other because I felt that the hook that the pattern called for was too large so I sized down to a smaller hook, which I forgot that I did when I made the second fish.

Ta-da! I'm so thrilled with how these turned out. I hope they inspire someone :) 


Friday, January 1, 2016

A Very Merry Michigan Crochetmas!

Hey guys! 

So I decided to hand make all of the gifts for my family back in Michigan this year. This was both practical and meaningful; I got to choose which item that I made for each person, they were all hand-made with love, and I could make them all in advance and then ship them all back at once so that I could save on shipping (versus purchasing a gift for each person and having it shipped). Given that we went back to Michigan for Christmas this year, the trip was already costing us an arm and a leg, so anywhere I could save on Christmas presents and still give everyone something was a plus for me! So I set out to Joann's (actually, I went many, many times) and I taught myself how to crochet amigurumi!

I'll include links to the patterns if I have them so that if you'd like, you can make them yourself! I'm also not going to include who each item is for (except it is probably obvious in a couple of cases) simply because I didn't actually give some of the gifts to their recipients for various reasons.


Dolls

It's probably obvious based on the dolls who these are for, but let's see if you can guess which doll is for which sister! I did change a lot of things about the pattern as I was going along so it is by NO means the exact pattern that I found to make them, but it is a fantastic pattern to build on and fantastic on its own!


"Mr. Fuzzhead" the Cat
Unrelated to Crochetmas, I stopped in the middle of crocheting the Christmas presents to whip up this little guy. He is based on a real cat, who was named Mr. Fuzzhead. When I found out from my friend that he had passed, I decided to make this for her. He is based off of a drawing that another friend did for her of Mr. Fuzz before his passing, then she had the drawing tattooed on her, so I thought a fuzzy embodiment was fitting. 


 MicroPig

Micropig Pattern


Stanley the Octopus

His eyes are made from felt and fabric and his mouth is hand-embroidered.


Jack Skellington Coin Purse

This was my first time actually mixing medias. After crocheting the pieces, I had to use my sewing machine to stitch the zipper on. I'm super proud that it turned out well!


Snowman
Snowman Pattern
Tiny Snowman! His hat is hand made from glittery felt. I had originally purchased a small hat that you would use on a hand made doll, but the hat was more cowboy hat shaped than top hat shaped.


 Cupcake Card Holder
Pattern for the Cupcake
Cupcake! The wire (which is actual thick floral wire) is hand-shaped and is intended for bingo cards or photos. The sprinkles are glass beads stitched randomly into the surface.


Hershey's Kiss Card Holder
Hershey's Kiss! The wire, again, is intended for bingo cards or photos. The actual "tag" is hand embroidered and made from felt, hot glue, and embroidery thread.


Fish Plaques
The fish plaques are actually going to get their own separate blog because I did follow the fish pattern but I also made the plaques so I thought it would be good to fully explain that as well. Yes, one is unintentionally larger, but funny enough that worked out in my favor!


Puppy


Piggy
This piggy is much MUCH larger than the pattern is written for because the hook it called for was 3-4 sizes smaller than my smallest hook (which honestly makes no sense to me... Your hook can only be so small when working with the weight of yarn this called for and I honestly would not have gone any smaller than I did).


I also have two other gifts for my Michigan family that haven't been given yet so I won't be spoiling the surprise :) I'll tack those onto another post later on. I hope everyone had a wonderful Christmas, I know I did!